
If you’ve been searching for the perfect milky rosé nails tutorial, you’re in exactly the right place. This dreamy, soft-pink manicure sits somewhere between a classic French tip and a sheer milk bath nail, and it’s honestly one of the most flattering finishes you can wear on any skin tone. The best part? You can absolutely nail this look at home, no salon appointment required.
What “Milky Rosé Nails” Actually Means
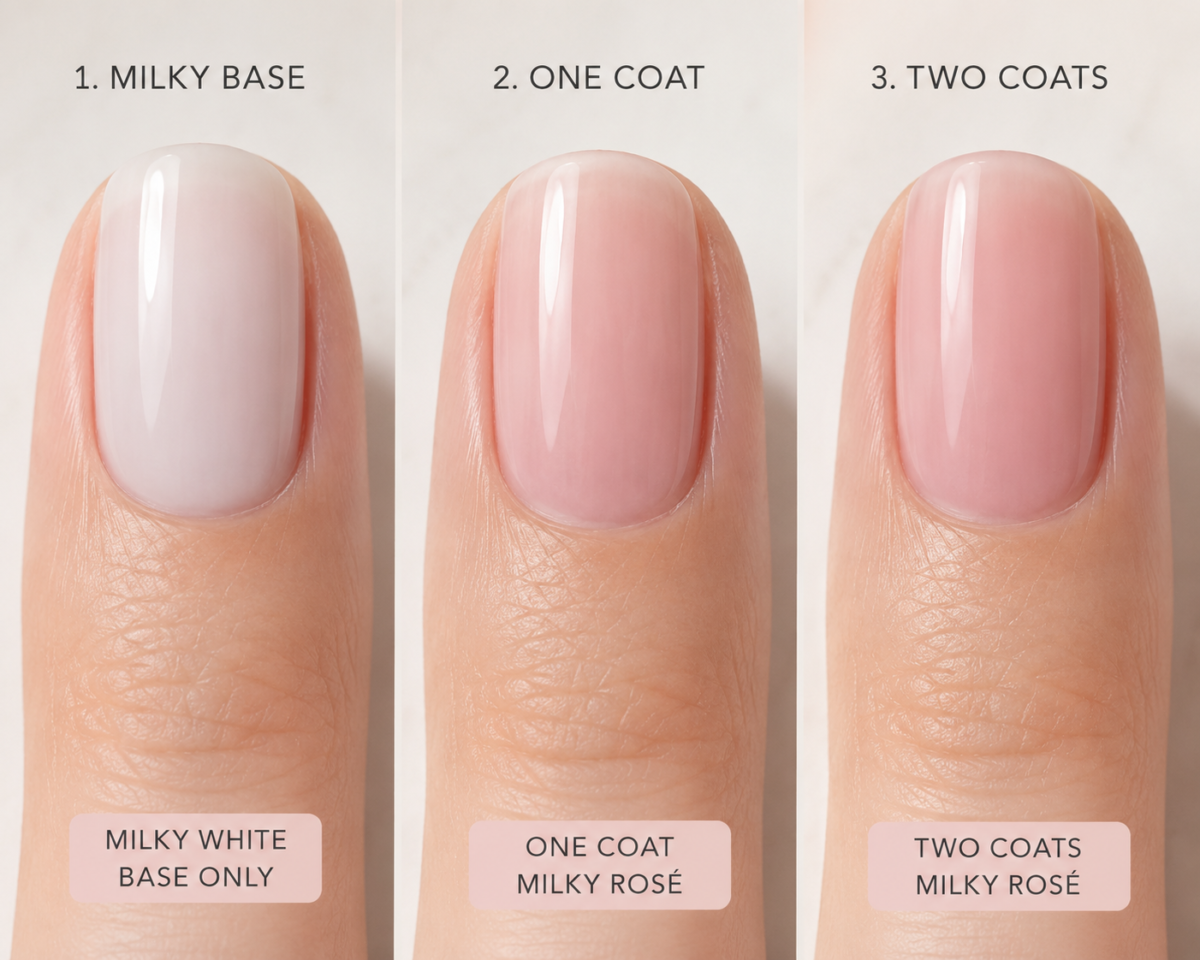
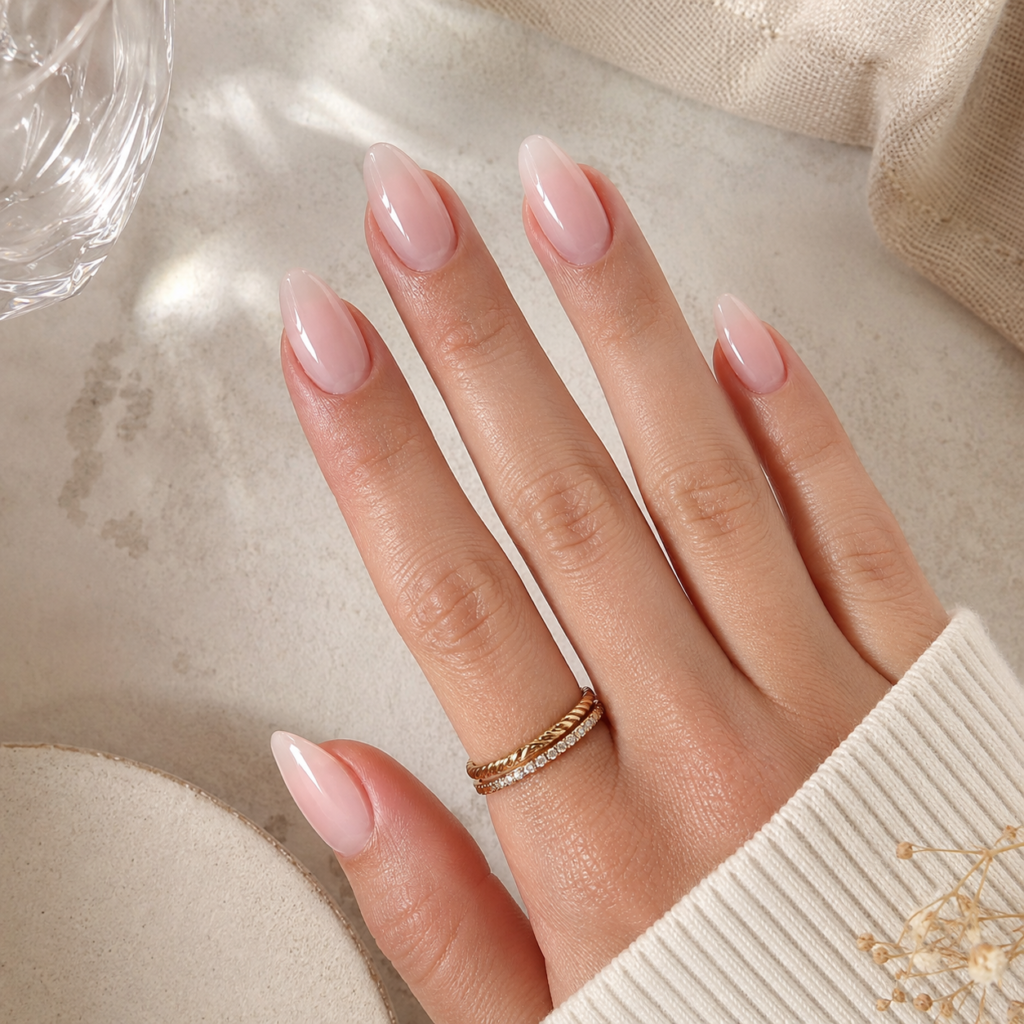
The milky rosé look is built on a sheer, lightly pigmented base, usually a blush-pink or rosy-nude polish with a milky, almost frosted quality. It’s not opaque like a typical pink manicure, and it’s not the cool gray-white of a milk bath nail. Think of it as a soft filter laid over your natural nail: enough color to look intentional, but sheer enough to glow.
It works because it mimics healthy, well-cared-for nails rather than covering them up. That’s part of why it’s become such a staple for anyone who wants their hands to look polished without looking “done.”
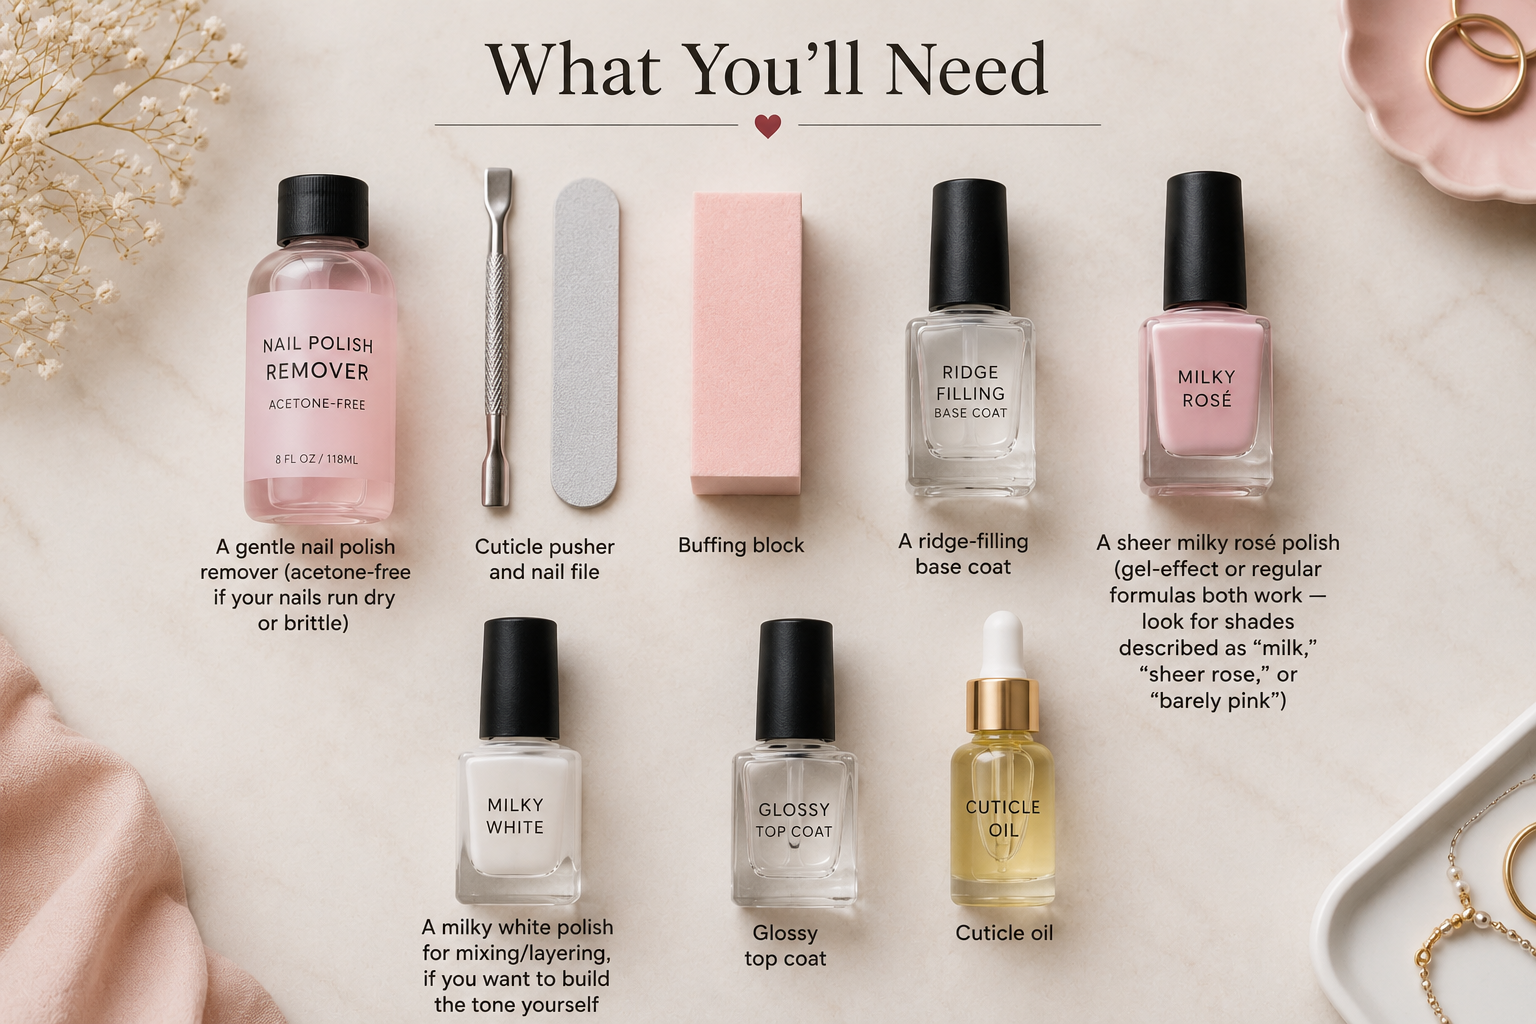
What You’ll Need for a Milky Rosé Manicure at Home
- A gentle nail polish remover (acetone-free if your nails run dry or brittle)
- Cuticle pusher and nail file
- Buffing block
- A ridge-filling base coat
- A sheer milky rosé polish (gel-effect or regular formulas both work, look for shades described as “milk,” “sheer rose,” or “barely pink”)
- A milky white polish for mixing/layering, if you want to build the tone yourself
- Glossy top coat
- Cuticle oil
Step 1: Prep Your Nails Properly for a Flawless Sheer Finish
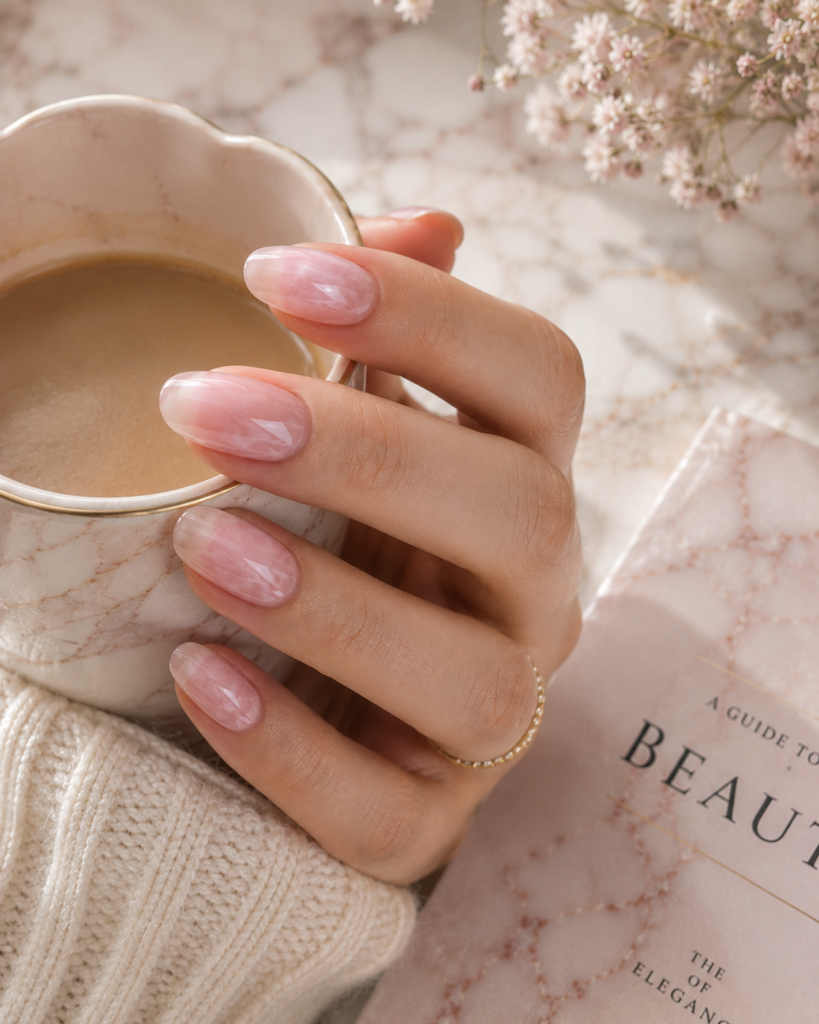
Remove any old polish completely, then push back your cuticles and shape your nails. Milky rosé looks its best on rounded or softly squared shapes rather than sharp edges, the shape should feel soft to match the color. Lightly buff the surface of the nail to smooth ridges; this matters more than usual with sheer polishes, since anything uneven will show through.
Step 2: Apply a Ridge-Filling Base Coat
Because the final color is sheer, any texture on the natural nail will telegraph straight through. A good ridge-filling base coat evens out the surface and also protects your natural nail from staining, especially if your milky rosé polish leans warm.
Step 3: Build Your Milky Rosé Shade, the Key Step
This is the step that makes or breaks the look.
- If using a pre-mixed milky rosé polish: apply two thin coats, letting each dry fully before the next. Thin coats are non-negotiable here, a thick single coat will look streaky and patchy instead of soft and even.
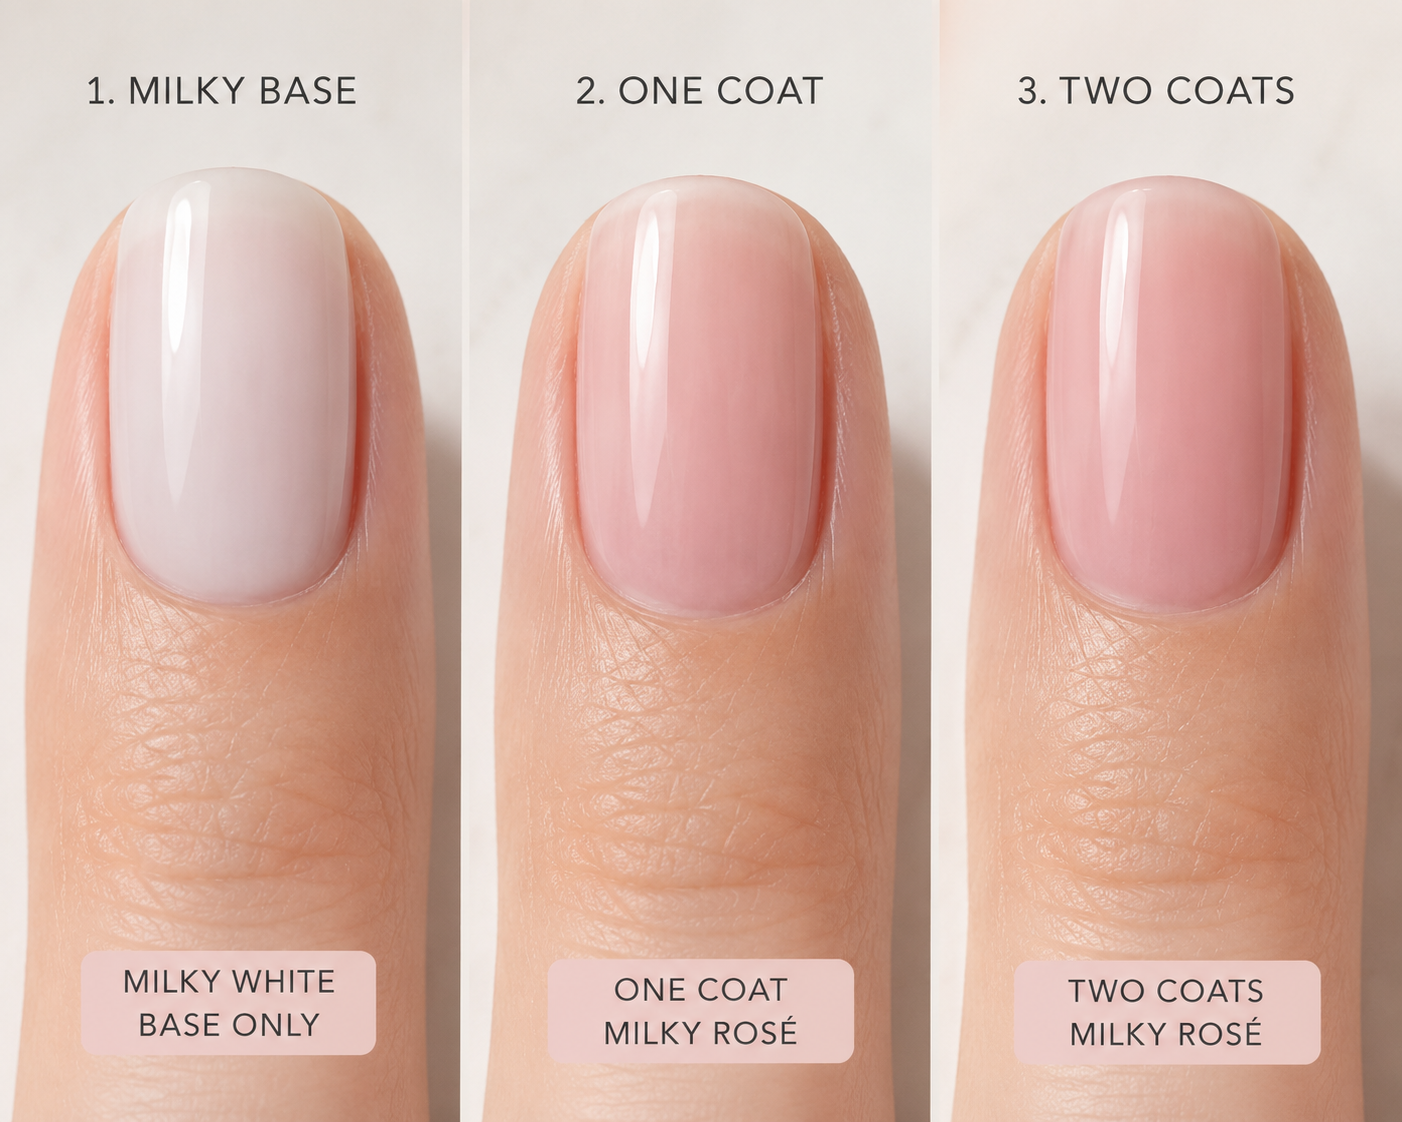
- If mixing your own shade: start with a milky white polish as your base layer (one thin coat), then follow with a sheer pink or rose polish on top. The white underneath is what gives the finish its soft, frosted quality; the pink on top adds the rosé warmth. Adjust the ratio, more white for a cooler, milkier tone, more pink for a warmer, rosier one.
Step 4: Seal With a Glossy Top Coat for That Glazed Look
A high-shine top coat is what gives milky rosé nails their signature “glazed” look. Avoid matte top coats here, the slight gloss is part of what makes the color look milky rather than flat or chalky. Apply one even coat, capping the free edge of the nail to help prevent chipping.
Step 5: Finish With Cuticle Oil
Once the top coat is fully dry, massage a small amount of cuticle oil into the nail bed and surrounding skin. This step is easy to skip but makes a real difference, hydrated cuticles make any sheer manicure look more finished and “salon fresh.”
Tips for Making Your Milky Rosé Nails Last Longer
- Reapply top coat every 2 to 3 days to maintain the glossy, milky finish.
- Avoid acetone-based removers for touch-ups, since they can dull the sheer effect on the surrounding coats.
- If a chip happens, a thin layer of polish blended over the area (rather than removing and redoing the whole nail) usually blends in seamlessly, since the color is so soft to begin with.
Final Thoughts on This Soft Pink Nail Trend
Milky rosé nails are proof that a manicure doesn’t need to be bold to make an impact. The soft, barely-there color works for everything from everyday wear to weddings, and once you’ve built your ideal shade ratio, it’s an easy look to recreate again and again at home.
Frequently Asked Questions
What nail polish shades work best for milky rosé nails?
Look for polishes labeled “sheer rose,” “barely pink,” “milk,” or “rosy nude”, these all deliver that signature soft, translucent finish. Brands like OPI, Essie, and Sally Hansen have great options in this color family. You can also layer a sheer pink over a milky white to dial in your perfect shade.
Can I achieve milky rosé nails with gel polish?
Absolutely! Many gel polish brands offer gel-effect milky shades that cure to a gorgeous, glossy finish. Just look for sheer or jelly-formula gel polishes in blush-pink or rose-nude tones and follow the same layering technique described above.
How is a milky rosé manicure different from a milk bath nail?
Great question, the two looks are closely related but distinct. A milk bath nail tends to lean cool and white-toned, while milky rosé has a warmer, pinker undertone that’s more flattering on a wider range of skin tones. Milky rosé also tends to read as more “dressed up” than the ultra-minimal milk bath style.
How long do milky rosé nails last without chipping?
With proper prep and a quality top coat, you can expect around 5 to 7 days of wear with regular nail polish, and up to 2 to 3 weeks with a gel formula. Reapplying a fresh layer of glossy top coat every couple of days will significantly extend the life of the manicure and keep that milky sheen looking fresh.
Is milky rosé suitable for short nails?
It’s actually one of the most flattering shades for short nails! The sheer, skin-toned quality of milky rosé creates the illusion of length and makes nails look neat and well-groomed even at a shorter length. A rounded or softly squared shape pairs especially beautifully with this color.
I hope this step-by-step guide has you feeling confident to recreate this gorgeous milky rosé nail look right at home. Whether you’re after a soft pink manicure for a special occasion or just want an everyday creamy nail look that goes with everything, this is truly one of those nail art ideas you’ll come back to again and again. Save this post, grab your polishes, and let me know in the comments how yours turns out, I’d love to see!

Hi, I’m Amber, the creator behind Dazzle Me Nails. I started this site because I’ve always believed nails aren’t just about beauty, they’re about confidence, self expression, and feeling put together in the simplest way. Like many of you, I’ve struggled with weak nails, chipped polish, and designs that looked good online but didn’t work in real life. That’s why I created Dazzle Me Nails to share nail ideas that are practical, wearable, and easy to recreate.
Here, you’ll find minimalist nail designs, trend inspired looks, and simple nail care tips to help you achieve clean, polished nails without over complicating your routine. If you love soft, classy, and effortless nail styles, you’re in the right place.