
Filing your nails seems simple — until they start splitting, peeling, or breaking. Understanding how to file nails properly is important, because most nail damage doesn’t come from polish — it comes from filing the wrong way.
If you’ve been wondering how to file nails correctly without weakening them, this guide shows you the right technique step by step — plus how to shape nails safely at home.
The Biggest Mistake Most People Make When Filing Nails
The most common mistake? Filing back and forth in a sawing motion.
That constant friction creates tiny micro-tears in the nail plate (your nail’s keratin layers). Over time, this leads to:
- Nail splitting
- Peeling at the free edge
- Thin, brittle nails
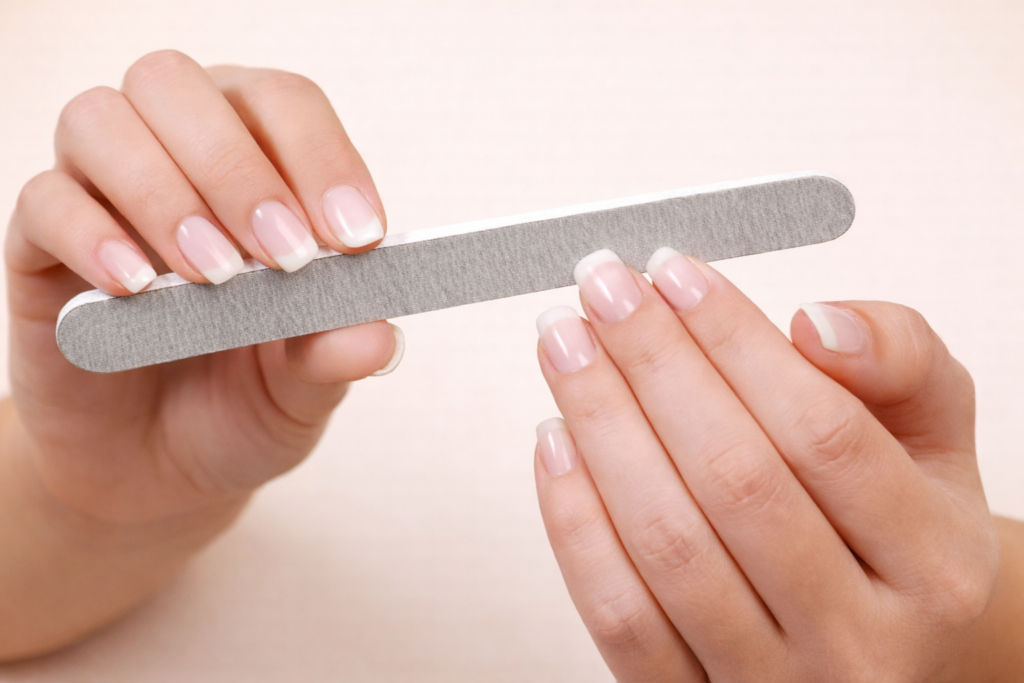
Instead, always file in one direction using light pressure. Smooth strokes protect the nail structure and reduce breakage.
What You Need Before Filing Your Nails
Using the correct nail file grit makes a huge difference in nail health.
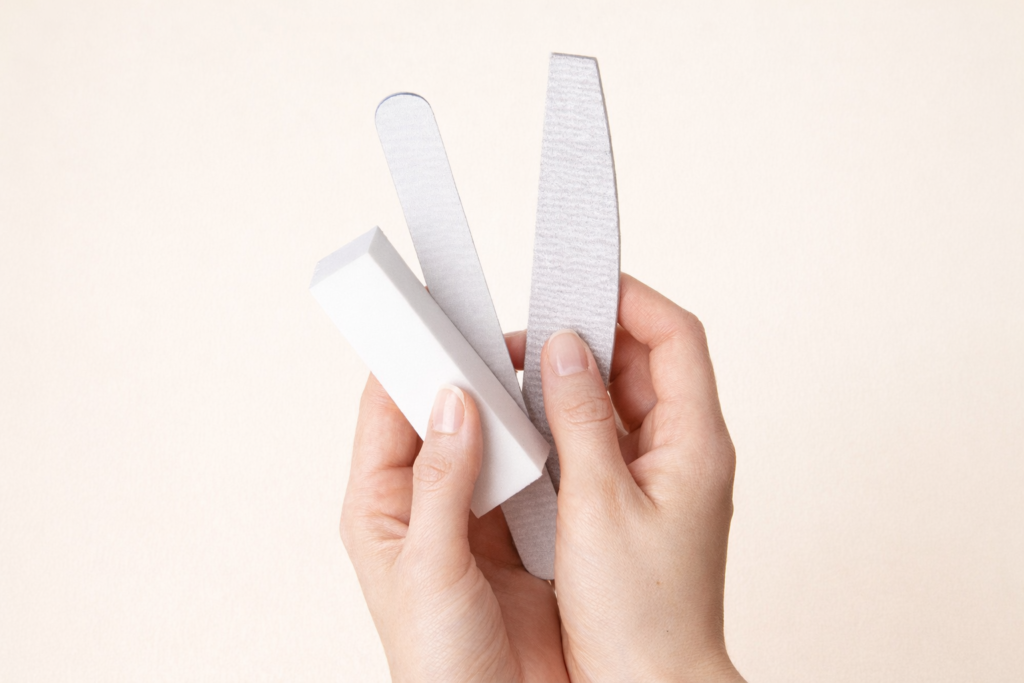
Here’s what you need:
- A fine grit nail file (180–240 grit is ideal for natural nails)
- Nail clippers (if length needs trimming)
- A buffer block
- Cuticle oil
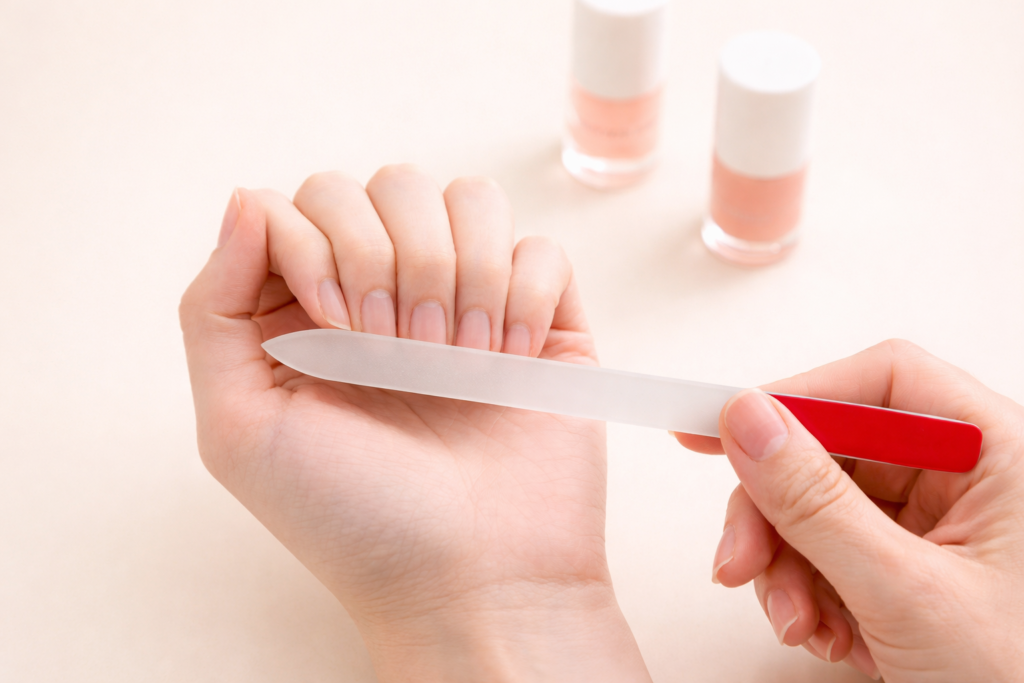
If your nails tend to split easily, switching to a glass nail file can help seal the edge more smoothly than a traditional emery board.
Avoid metal nail files — they’re too harsh and can weaken natural nails over time.
Should You File Nails Wet or Dry?
Always file dry nails.
Wet nails are softer and more flexible, which makes them more likely to tear during filing. If you’ve just showered, wait until your nails are completely dry before shaping them.
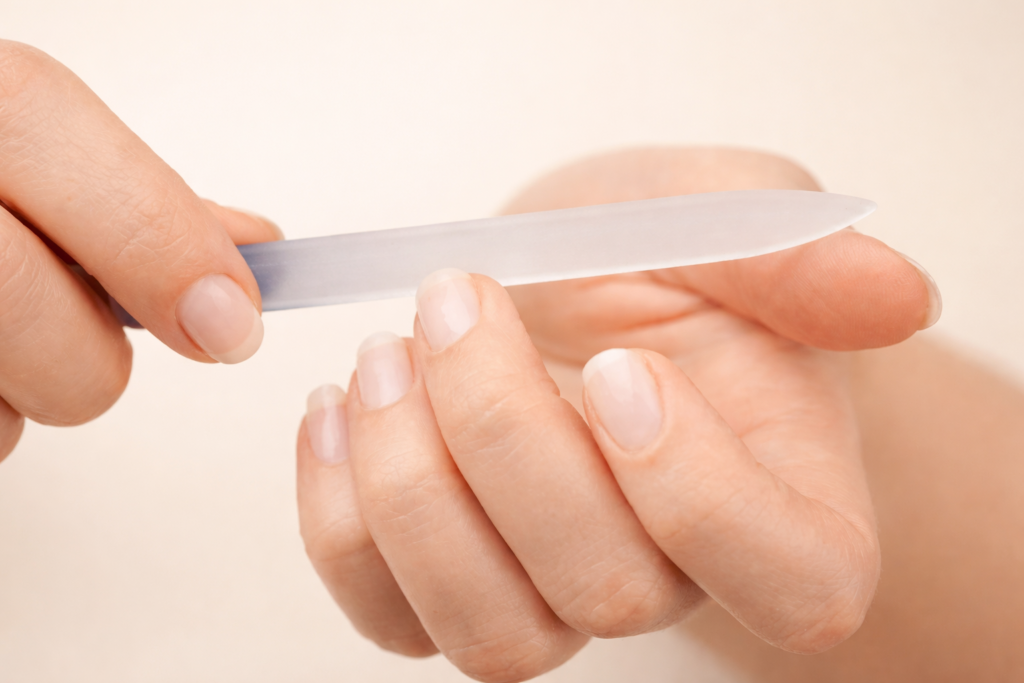
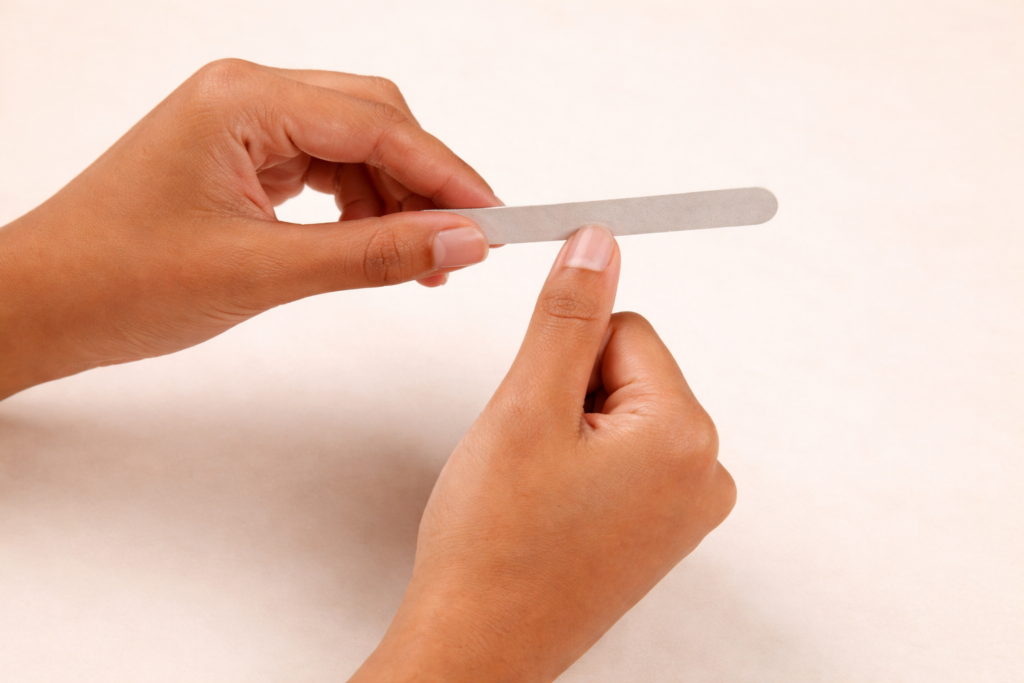
A smooth glass nail file that gently shapes and buffs nails without tearing — great for everyday touch‑ups and keeping tips looking clean.
This simple change alone can prevent nail peeling and breakage.
Step-by-Step: How to File Nails Properly at Home
Step 1: Choose the Right Grit
For natural nails, use 180 or 240 grit. Coarse files (100 grit) are meant for acrylic nails only.
Step 2: Trim If Needed
If your nails are long, trim slightly first. This reduces stress on the nail when shaping.
Step 3: File in One Direction
Start at one side and gently file toward the center. Repeat on the other side.
Step 4: Maintain the Right Angle
Hold the nail file slightly under the free edge — not flat across the top. This protects the nail bed.
Step 5: Seal the Edge
Lightly smooth the edge to prevent layers from separating.
Step 6: Hydrate
Apply cuticle oil to restore moisture and strengthen the nail plate.
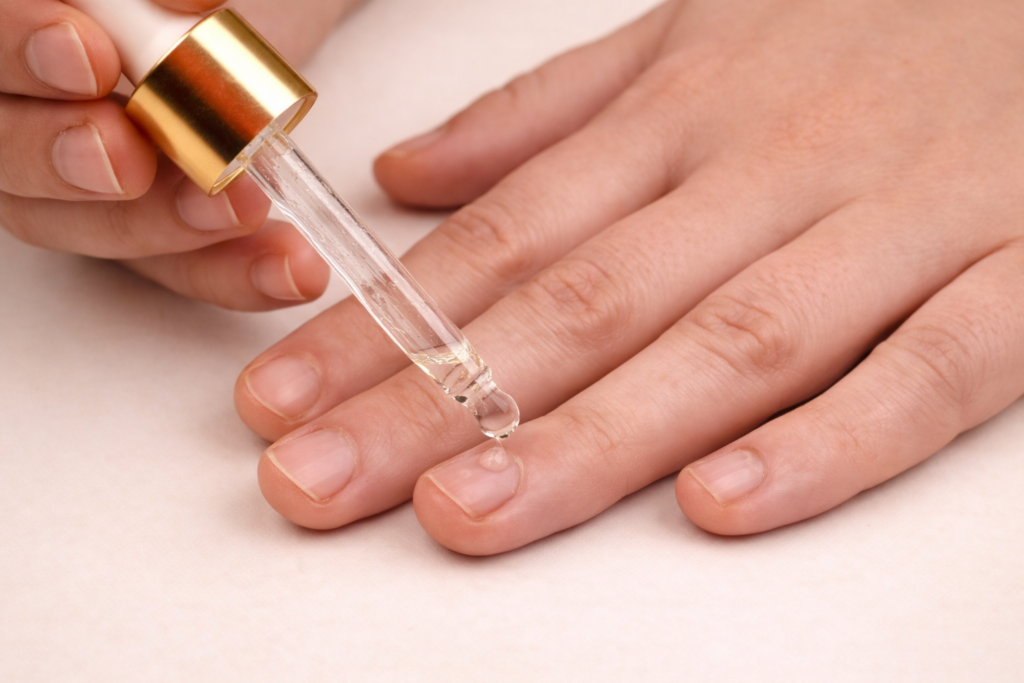
A nourishing cuticle oil that keeps nails and surrounding skin soft, hydrated, and healthy — perfect for smooth, well-groomed nails anytime.
Nail Shape Guide (Simple & Beginner-Friendly)
Different nail shapes require small adjustments in filing technique.
- Square nails – File straight across, then soften the corners slightly.
- Round nails – Follow the natural curve of your fingertip.
- Oval nails – File diagonally toward the center to elongate the look.
- Almond nails – Gently taper the sides while keeping the tip soft.
- Coffin nails – Taper inward, then file the tip flat.
If you’re just starting, round or squoval shapes are the safest and most durable options.
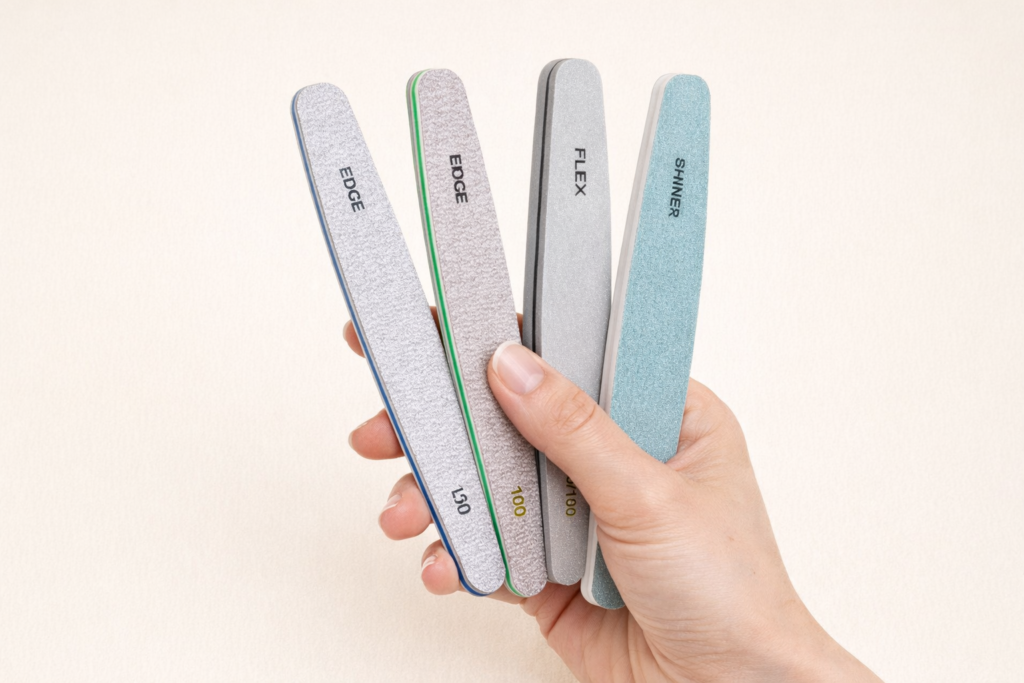
A handy professional manicure polisher that makes prepping your nails quick and easy — perfect for keeping them smooth and salon-ready at home.
How to File Nails Without Splitting or Peeling
If your nails split when you file them, the issue is usually pressure or grit level.
To prevent nail damage:
- Use a fine grit nail file
- File gently in one direction
- Avoid over-buffing the surface
- Seal the free edge carefully
- Hydrate consistently
Small technique changes make a noticeable difference in nail strength.
How Often Should You File Nails?
Most people only need to file nails once a week for maintenance.
Frequent reshaping can weaken the free edge. If your nails feel thinner or bend easily, you may be over-filing.
Healthy nail care is about maintenance — not constant reshaping.
Nail Filing Routine for Healthy Growth
Filing doesn’t make nails grow faster, but it does help prevent breakage — which makes growth more visible.
After filing:
- Apply cuticle oil
- Use a nail strengthening treatment
- Keep nails moisturized
- Avoid harsh removers
Nail Filing Mistakes That Ruin Your Manicure
Avoid these common mistakes:
- Filing back and forth
- Filing wet nails
- Using metal nail files
- Over-buffing the surface
- Applying too much pressure
Correct nail filing technique protects your nail health long term.
Quick Nail Filing Cheat Sheet
File dry nails
Use 180–240 grit for natural nails
File in one direction
Seal edges gently
Hydrate after filing
Don’t saw back and forth
Don’t over-file
Don’t skip aftercare
Filing nails properly isn’t complicated — it just requires the right tools and gentle technique. Once you switch to filing in one direction and using the correct grit, you’ll notice fewer splits, smoother edges, and stronger nails over time.

Hi, I’m Amber — the creator behind Dazzle Me Nails. I started this site because I’ve always believed nails aren’t just about beauty — they’re about confidence, self-expression, and feeling put together in the simplest way. Like many of you, I’ve struggled with weak nails, chipped polish, and designs that looked good online but didn’t work in real life, which is why I created Dazzle Me Nails to share nail ideas that are practical, wearable, and easy to recreate. Here, you’ll find minimalist nail designs, trend-inspired looks, and simple nail care tips to help you achieve clean, polished nails without over complicating your routine. If you love soft, classy, and effortless nail styles — you’re in the right place