
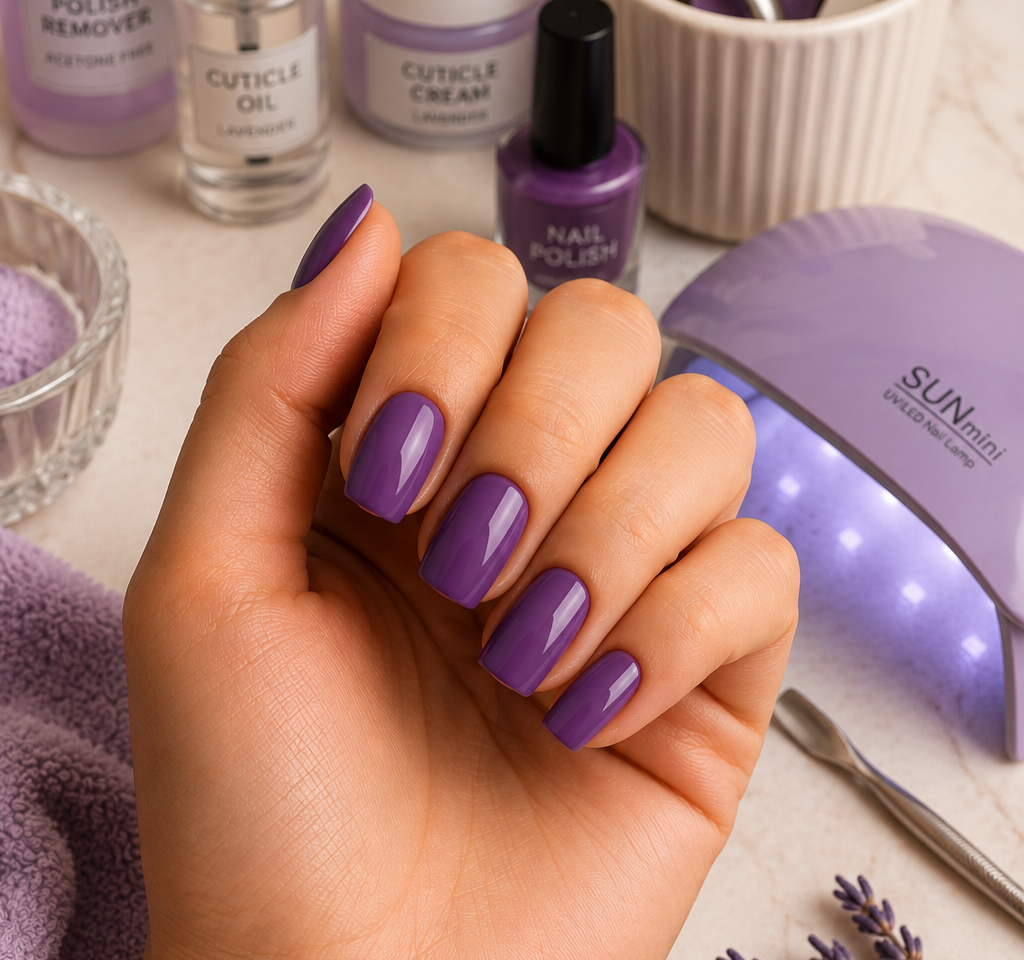
If you’ve ever wondered why your at-home manicure chips by day two while a friend’s lasts a full week, you’re in the right place. Learning how to do a professional manicure at home is less about finding the perfect polish and more about mastering the prep steps and painting order that salon techs never skip. In this guide, I’m sharing everything I’ve learned from years of weekly DIY manicures, the small habits that genuinely make a long-lasting home manicure possible.
Most at-home manicures don’t fail because of the polish. They fail in the ten quiet minutes before any color goes on. After years of doing my own nails almost every week, and ruining more sets than I’d like to admit early on, the pattern became impossible to miss: the people whose manicures last a full week aren’t using fancier polish, they’re prepping better. Learning how to do a professional manicure at home is really about learning the order pros work in, and the handful of small steps they never, ever skip.
The polish itself is maybe a third of the job. Get the rest right and a bottle of drugstore color will outlast a rushed salon visit.
What You Actually Need for a Long-Lasting Home Manicure (And What’s a Waste of Money)
Here’s the honest version most nail brands won’t give you: the polish brand matters far less than your base coat, your top coat, and your prep. You can spend $4 or $40 on color and, applied properly, the difference on your nails is tiny. The money is in the liquids and the tools.
| Worth the Investment (Essentials) | Waste of Money (Skip These) |
|---|---|
| Glass/crystal nail file (prevents splitting) | Giant 20-piece tool kits (mostly unused) |
| Quality base and top coat | Electric nail dryers (mostly a gimmick) |
| Cuticle pusher & oil pen | Cuticle nippers (cutting causes tears) |
| Polish remover & cotton pads | Special soaking bowls (use a kitchen bowl) |
| Any standard polish color | Overly expensive color polishes |
The one upgrade genuinely worth it is a good top coat. I switched to a fast-drying, non-yellowing top coat a while back and it changed everything, the shine lasts, and the manicure stops chipping at day three. A glass nail file and a cuticle oil pen are the other two things worth not cheaping out on.
The Prep Work That Actually Makes Your Manicure Last
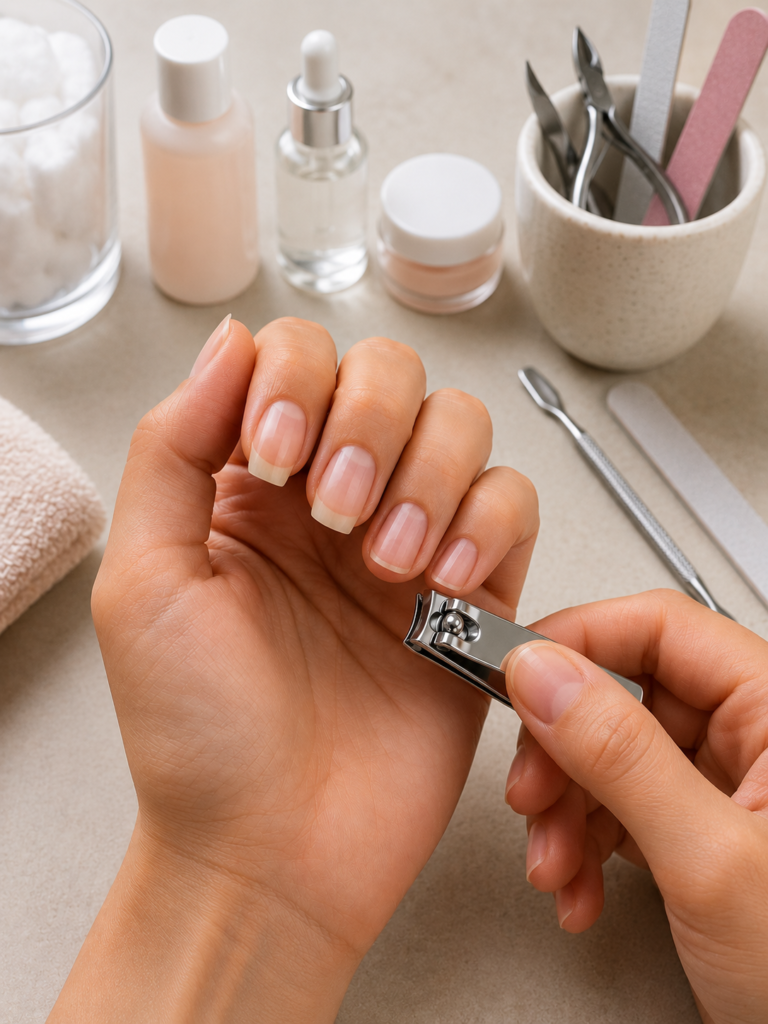
The difference between a manicure that chips in two days and one that lasts a week happens before the base coat. When you’re learning how to do a professional manicure at home, this is the part to slow down on.
- Remove old polish entirely: Clean right into the corners and the base of the nail. Leftover color hiding by the cuticle is the most common reason a fresh manicure looks sloppy.
- Shape your nails: Clip first only if going shorter. File each nail in one direction (no sawing back and forth) to prevent splitting. Check out our guide to filing nails without damaging them to get the angle and grit exactly right.
- Soak and push: Soak fingertips in warm water for three to five minutes. Pat dry, apply cuticle remover or oil, and gently push the cuticles back at a low angle. Do not cut them.
- Dehydrate the nail plate: After oiling and soaking, your nails are too moisturized for polish to grip. Wipe each nail with a cotton pad and remover to strip surface oils. A clean, dry, oil-free nail plate is the reason salon polish doesn’t peel off.
The Professional Home Manicure, Step by Step
- Start with base coat, and don’t rush it. Apply one thin, even layer of base coat from just above the cuticle out to the free edge. It gives the color something to physically grip and stops pigment-heavy shades from staining your natural nail. Give it a full minute to set.
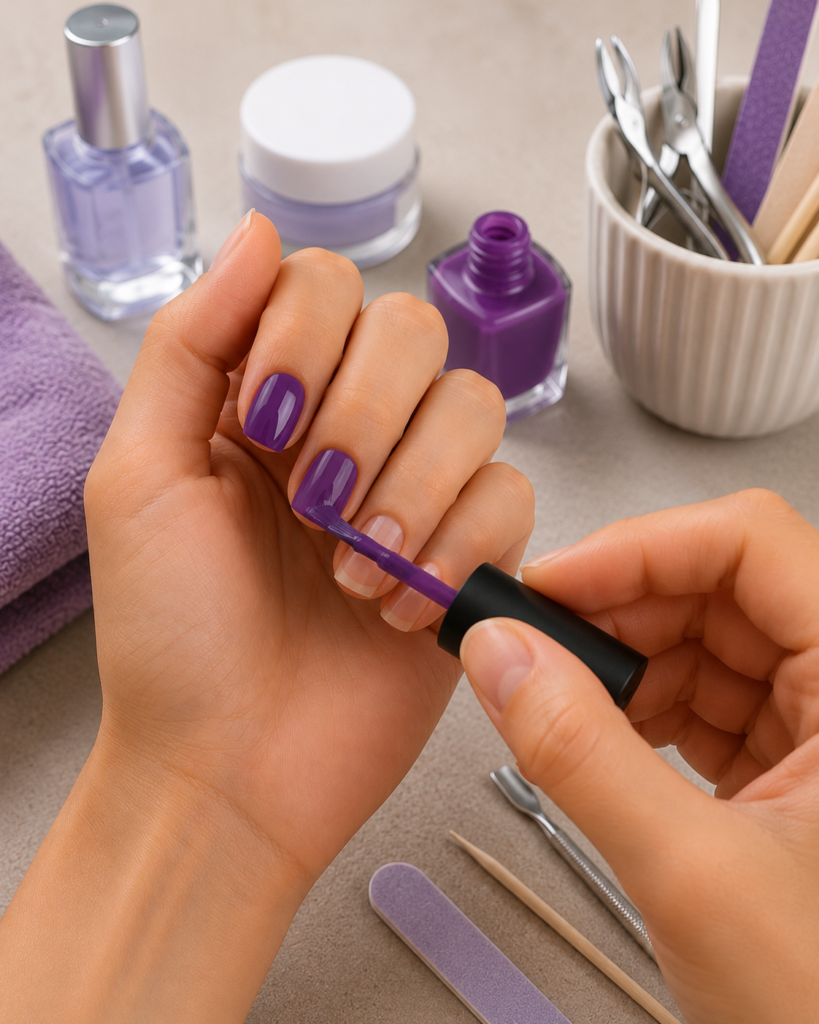
- First color coat, keep it thin and a little patchy. Load the brush, then wipe one side against the neck of the bottle. Set the brush down a credit-card’s width above the cuticle, push it gently back toward the skin, then pull one clean stroke straight to the tip. Follow with one stroke down each side. This should look thin and streaky.
- Cap the free edge. Swipe the brush flat across the very tip of each nail to seal the edge. Do this on every layer to resist chipping.
- Wait, then add the second coat. Give the first coat two full minutes. Apply a second thin coat exactly the way you did the first. Two thin coats beat one thick coat, preventing trapped air bubbles and dents.
- Seal with top coat. Once color is touch-dry, flood one generous layer of top coat over the whole nail and cap the free edge again. One confident pass per nail self-levels into a smooth, glassy finish.
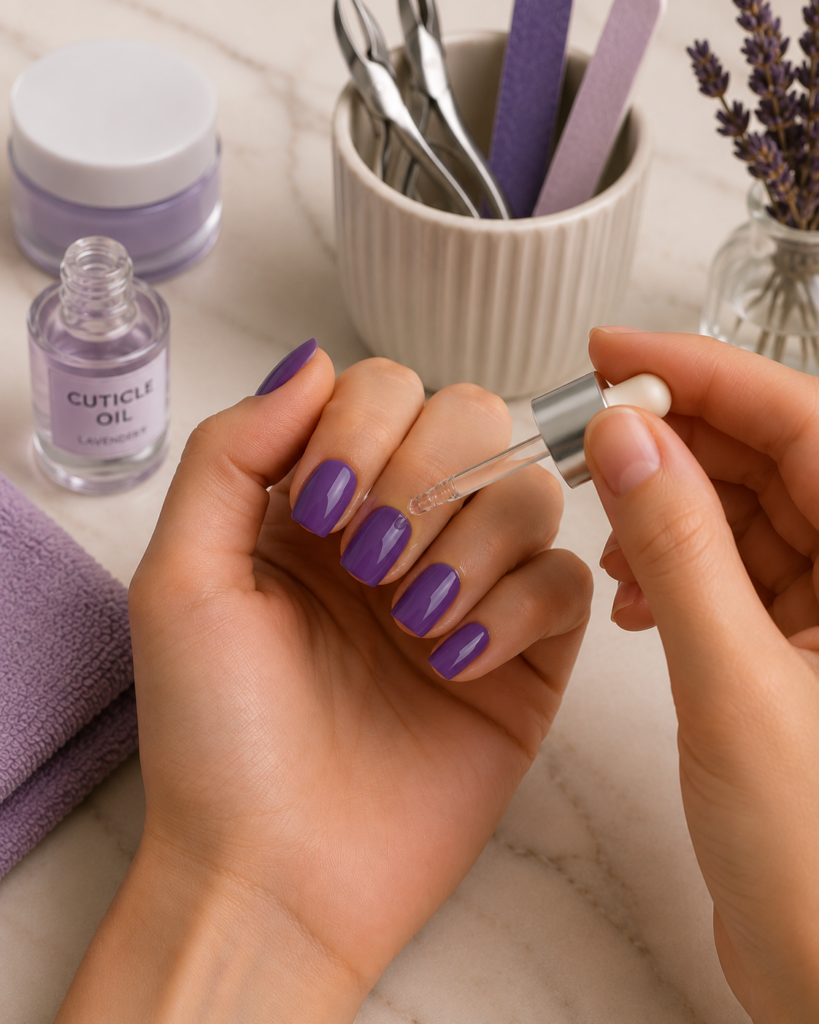
- Dry properly, then oil. Give it 15 to 20 minutes of real drying time. To speed things up, use quick-dry drops. Once fully set, massage a drop of cuticle oil into each nail and the surrounding skin.
Painting Like a Pro (Without the Mess)
Clean lines are mostly technique, not talent. A few things that make the biggest difference:
- Roll the bottle, don’t shake it: Shaking whips air into the polish, causing tiny bubbles. Roll it between your palms instead.
- Wipe the brush: Drag one side of the brush against the lip of the bottle to control the amount of polish.
- Leave a hairline gap at the cuticle: Start your stroke just above the cuticle. A tiny gap reads as neat; flooded skin reads as amateur.
- Keep a clean-up brush nearby: A small brush dipped in remover easily wipes away stray color for crisp edges.
- Do your dominant hand first: Tackle the harder hand while you are freshest and steadiest.
Troubleshooting Common Manicure Problems
| Problem | Common Cause & Fix |
|---|---|
| Chipping by day two | Oils left on the nail, coats applied too thick, or an unsealed free edge. |
| Bubbles in the polish | Shaking the bottle, painting too thick, or rushing between layers. Remove and redo the nail. |
| Polish pooling at cuticle | Too much product on the brush. Wipe the brush and leave a hairline gap at the base. |
| Streaky color | Too few coats or old, thick polish. Use two thin coats over a base coat. |
| Dents after drying | The polish was only surface-dry. Apply thin coats and allow 15 to 20 minutes of real drying time. |
Making Your Home Manicure Last Over a Week
Beyond capping the free edge and never skipping base and top coats, the habit that matters most is cuticle oil. A swipe on each nail every night keeps the polish flexible and the skin healthy.
Wear gloves for dishes and cleaning, as household chemicals eat through top coat. Working a nourishing hand cream in at night helps soft, hydrated skin resist dryness and hangnails. Finally, apply a thin refresh layer of clear top coat every two or three days to re-seal the tips and reset durability.
Want even longer wear with no chipping at all? A dip powder manicure gets you two to three weeks, it’s the natural next step once you’ve got the basics down.
Frequently Asked Questions
How long does an at-home manicure take?
Plan for about 45 minutes to an hour the first few times, most of that is prep and drying, not painting. It gets noticeably faster once the steps become muscle memory.
Should you soak your nails before a manicure?
A short warm soak softens cuticles so they push back easily. Just keep it brief, and always finish with the oil-free wipe right before polishing, since soaking temporarily leaves moisture and oil on the nail.
How long should you wait between coats?
About two minutes between thin coats. The layer should feel set to a light, careful touch, it doesn’t need to be fully hard before the next.
Do I really need both a base coat and a top coat?
Yes, and they do different jobs. Base coat helps color adhere and prevents staining; top coat adds shine and seals against chips. Skipping either is the quickest way to a manicure that chips early.
Why does my polish always chip so fast?
Nine times out of ten it’s oils left on the nail, coats that were too thick, or an unsealed tip. Address those and the chipping mostly stops.
Can I do a professional manicure at home without any special tools?
You can get surprisingly far with just a file, a cuticle pusher, base coat, color, and top coat. The technique and prep matter more than owning every gadget.
That’s the whole process, the same order and the same small, non-negotiable steps that make a salon manicure look the way it does. None of it is hard; it just rewards patience over speed.
I’d genuinely love to hear how yours turns out. What finally made your at-home manicures last, or where are you still hitting a wall? Drop it in the comments and I’ll answer every one personally.

Hi, I’m Amber, the creator behind Dazzle Me Nails. I started this site because I’ve always believed nails aren’t just about beauty, they’re about confidence, self expression, and feeling put together in the simplest way. Like many of you, I’ve struggled with weak nails, chipped polish, and designs that looked good online but didn’t work in real life. That’s why I created Dazzle Me Nails to share nail ideas that are practical, wearable, and easy to recreate.
Here, you’ll find minimalist nail designs, trend inspired looks, and simple nail care tips to help you achieve clean, polished nails without over complicating your routine. If you love soft, classy, and effortless nail styles, you’re in the right place.