In case you have been on a hunt for nail art tools and nail care tools and are feeling lost, this guide sorts them out according to their functions—drawing, dotting, blending, creating effects, placing, and cleaning up—so you can easily pair the right tool with the look you want. It works well with both regular nail polish and home gel manicure setups.
Lines & Detail Tools
Liner brush (striping brush)
For micro French tips, swirls, and neat outlines, a linear brush is your closest ally. It is indeed one of the essential nail art brushes for minimalistic line art and “clean girl” designs as well.
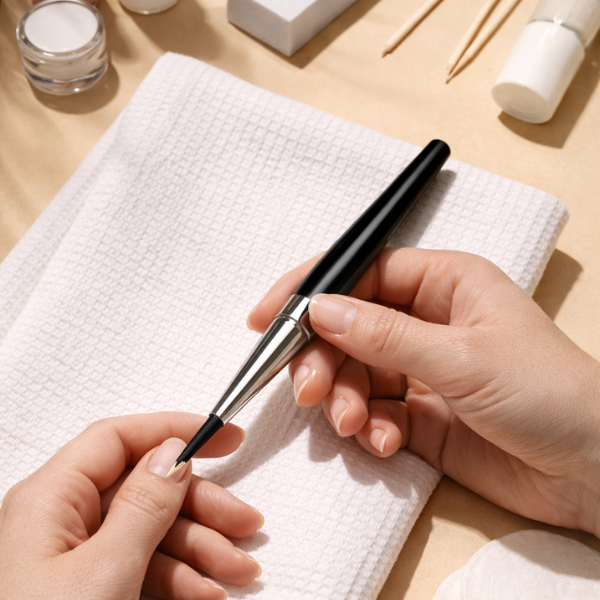
If you want consistent, super-fine lines without fighting the brush, a good liner or striping brush makes a noticeable difference in control and precision. It’s a reliable option for detailed work.
Micro French (instant steps): apply your foundation → use a fine brush to create a narrow line at the tip → use a cleaner brush to define the tip more sharply.
Should your line shake, it is better to make two lighter passes than one heavy stroke.
Detail brush
Use a detail brush for bows, tiny florals, mini hearts, and little accents. That’s the brush you’ll grab if you love coquette nails, and you will probably use it regularly.
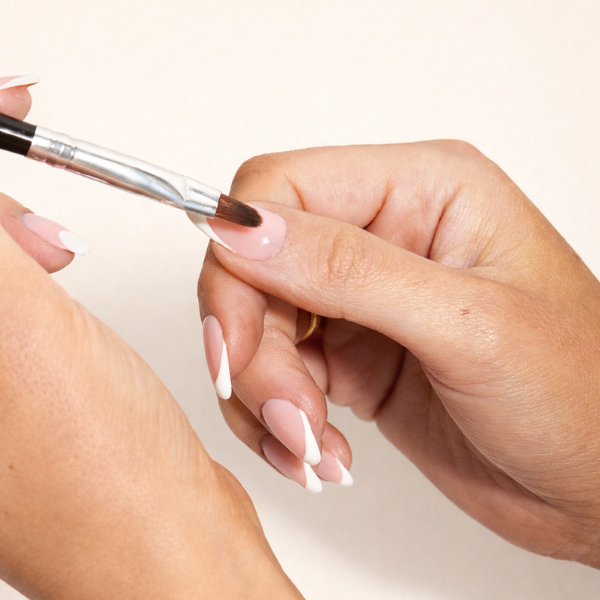
Flat/angled brush
Using flat or angled brushes, you can easily create crisp French tips and neat blocks of color. They can also be used for one-stroke petals and soft shaping around the smile line.
Striping tape / nail art tape
Striping tape (or nail art tape) is the best choice for geometric lines and negative space. Apply it only on a fully dry/cured base, then paint over it with a thin layer, and finally remove it before the layer completely locks in.
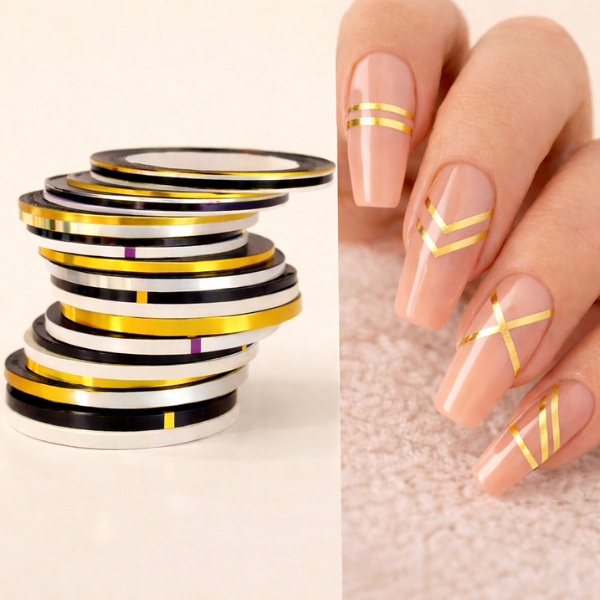
Using a quality nail art striping tape helps prevent lifting and bleeding, especially when working with negative space or crisp geometric designs. This is what I’ve tried, and it makes getting clean lines much easier.
If you get bleeding, it’s usually because the layer was too thick—thin coats fix most tape issues.
Consistency control
In case your strokes turn into a blob or get skipped, it is typically because of the very brush load. Clean a side of your brush on the nail art palette (a resin nail palette is very good) and apply in thin layers.
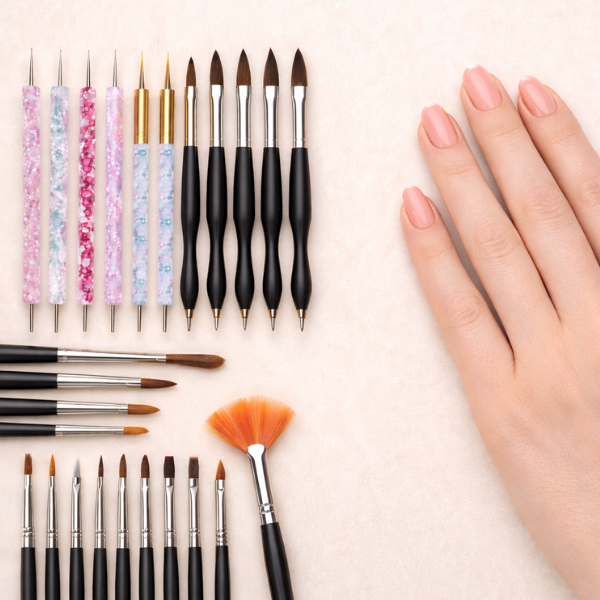
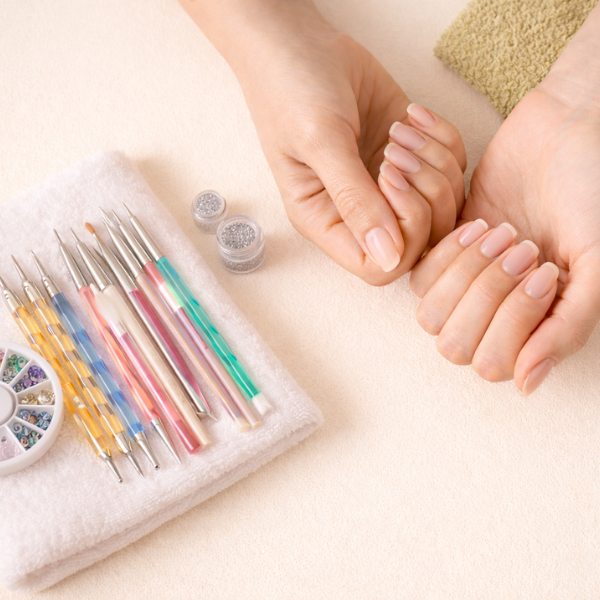
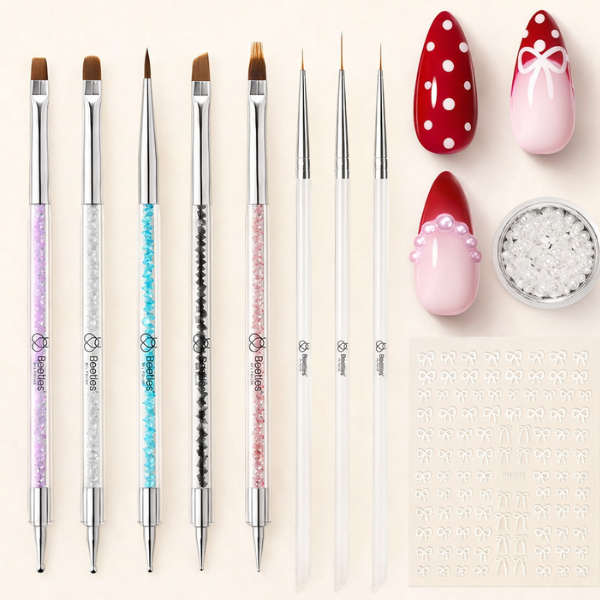
If you’re just starting out and don’t want to buy tools one by one, a complete nail art tool kit can simplify things and cover most designs in one go. It’s a convenient at-home option for beginners.
Dot Tools
Dotting tools (double-ended)
Dotting tools give the impression that you are making unintentional cute designs—polka dots, daisies, hearts, cherries, and even leopard spots. It is very convenient to use a double-headed dotting tool since you can change the size without any delay.
The method to apply dotting tools for polka dots/flowers is: touch → lift straight up → let dots settle.
These tools work well for simple nail art at home. A reliable set of brushes and dotting tools makes a big difference for small details like dots, lines, or minimal designs, keeping everything neat without advanced skills.
Blending Tools
Ombre/gradient sponge method
Ombre/gradient sponge technique is the most suited to disappear and aura edges. Draw lightly in layers (not swiping) to prevent bubbles and unevenness.
An ombre brush technique
An ombre nail art brush (or a soft angled/round brush) is perfect for aura nails as it gives a smooth transition and an airbrushed feel with no visible seam between colors.
Cuticle barrier techniques (for messy trends)
For aura, sponging, glitter fades, and marble, a cuticle barrier saves time. A liquid latex for nails barrier (also called a peel-off cuticle protector or liquid tape for nails) goes around the nail and peels off after.
If you skip the barrier, you’ll just lean more on cleanup tools—still doable, just slower.
Stamping Tools
Stamping kit
A nail stamping kit involves the use of stamping plates, a stamper, and a scraper. The main thing is speed: place the polish → scrape once → roll the stamper over the design → roll onto the nail.
A silicone nail stamper is the traditional choice. A jelly stamper is less firm. A clear stamper (or a transparent stamper) is advantageous when it comes to placement since you are able to see through it.
Dedicated stamping polish is not an absolute necessity, but what is required is a very strong pigment for an effective pickup.

Effect Tools
Chrome Powders
In the world of manicures, chrome powders make your nails look glazed. If you want a centered glow instead of full coverage, a chrome powder application sponge will assist in smoothly pressing the pigment.
Magnetic/cat-eye/velvet
A cat eye nail magnet (or a dual-head nail art magnet) forms a line, halo, or velvet shimmer with the help of magnetic polish. The distance and angle at which you hold the magnet can create enormous effects, hence it is a good idea to try out your magnet movements first before actually doing the nails.
Placement Tools
Tweezers and rhinestone placement
When dealing with rhinestones, nail crystals, and sequins, opt for nail art tweezers or a rhinestone applicator tool to ensure accurate positioning. In the case of nail foil flakes and glitter powder, make sure to press flat and seal the edges to avoid anything catching.
Cleanup Tools (the pro finish)
Cleanup brush + remover pen
A cleanup brush enhances the cuticle line and, in an instant, gives the designs a cleaner look. In case of very slight errors, a nail polish remover pen (or a nail polish correcting pen) is just the thing for dot repairs and edge touch-ups. Lint-free cotton swabs/Q-tips are useful for the corners.
If you are removing gel, soak-off wraps make the whole process clean and tidy.
Gels versus regular polish: do tools change?
Most nail art tools can be used for both types of polish, but the time taken to finish the nails differs. The chrome and magnetic looks are often the easiest to achieve in gel workflows, while line work and dot work can be done in both ways and still look beautiful.
In case you use acrylics as well, you will find that there is a lot of overlap with the acrylic colors/powders, palettes, and controlled mixing.
Practice & planning tools
If consistency in results is desired, then nail polish swatch sticks are your ally in combo planning, and a nail tip holder or magnetic nail tip stand will make micro French, stamping placement, and aura blending practicing much easier.
Workspace helpers (for clean results and clean photos)
An uncomplicated setup simplifies the entire process: disposable nail mats not only keep your surface neat and ready for the photo but also storage like a nail art organizer bag or nail art trolley/case prevents dust and missing tools.