
The average person spends 3.5 hours getting ready for a formal event, yet most skip their nails entirely or settle for a rushed coat of clear polish. I find this fascinating because glam nails are often the detail that gets photographed most in those “show me your ring” moments, graduation celebrations, and wedding party shots. Your hands are constantly in motion, gesturing, holding champagne flutes, resting on tables during conversations. After testing countless products and techniques to achieve salon-level glamour at home, I have discovered that the gap between professional results and DIY attempts comes down to a few specific choices most people overlook.

What Makes Glam Nails Different From Everyday Manicures
The distinction between a standard manicure and true glam nails goes beyond just choosing a sparkly color. Everyday polish applications prioritize speed and wearability, while glamorous nails demand attention to light reflection, dimension, and that unmistakable wet-glass finish that photographs beautifully. The nail bed preparation alone differs significantly.
For everyday wear, you might get away with a quick file and swipe of base coat. Glam applications require meticulous cuticle care, surface buffing to create microscopic texture for polish adhesion, and often multiple product layers to achieve depth. I spent three months comparing my rushed morning manicures against my dedicated Saturday evening sessions, tracking how long each lasted and how they looked in photos. The time investment paid dividends not just in longevity but in how the finished nails caught light from every angle.
The top coat selection matters enormously here. A standard top coat dries shiny but often dulls within 48 hours. Products designed for high-gloss finishes, like Seche Vite Dry Fast Top Coat, maintain that liquid-glass appearance for days because they contain ingredients that resist the micro-scratches from daily activities.
Choosing Colors That Photograph Like Professional Nail Art
Not every shade translates well to photographs, which is a reality that surprised me when I started documenting my manicures. Some polishes that look stunning in person appear muddy or flat on camera, while others practically glow through a screen. The secret lies in understanding undertones and light reflection properties.
Cool-toned reds like OPI Big Apple Red photograph more vibrantly than warm orange-based reds because camera sensors naturally boost blue undertones. For events where you know you will be photographed extensively, this matters. Deep burgundies, classic reds with blue undertones, champagne golds, and true black with subtle shimmer consistently outperform trendy but camera-unfriendly shades.
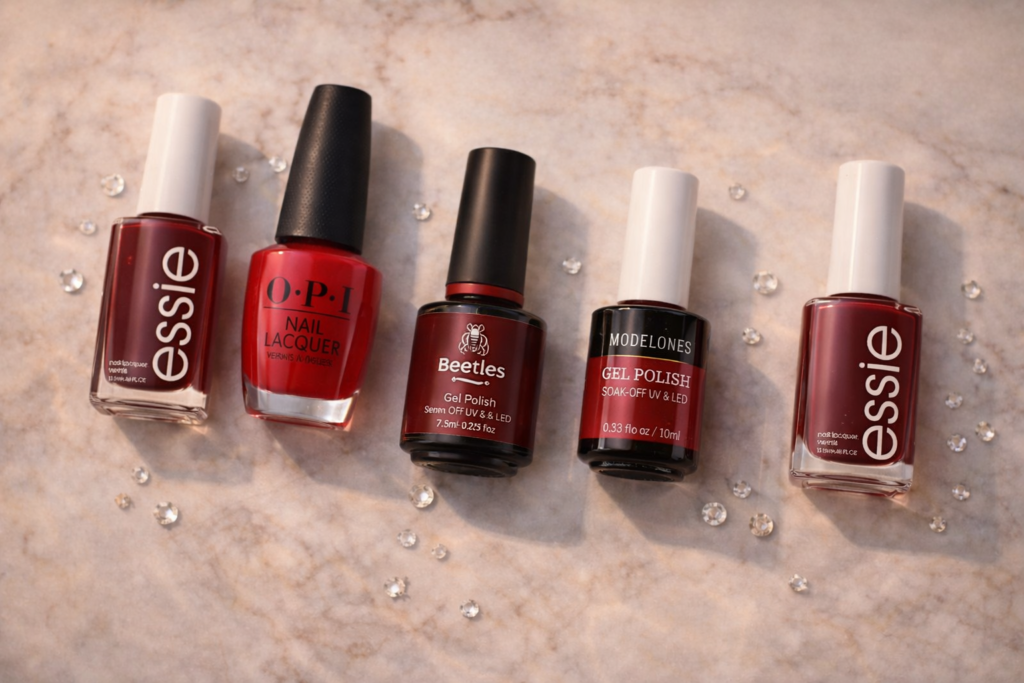
Essie Bordeaux remains my recommendation for formal occasions because it reads as sophisticated without requiring explanation. It flatters every skin tone I have tested it on and maintains its depth in both natural and artificial lighting. For something more neutral that still reads as intentionally glamorous rather than bare, try Zoya Rue or China Glaze Diva Bride.
Here is my honest take that I rarely see acknowledged: white and very pale pink polishes are nearly impossible to make look glamorous at home. They show every application imperfection, every cuticle wobble, every thickness variation. Professionals can execute them flawlessly because they apply polish eight hours a day. For the rest of us, medium to deep tones provide far more forgiveness while still looking intentional.
The Nail Shape That Elevates Basic Polish to Glam Nails
Your nail shape does more heavy lifting for overall glamour than your polish choice, which is something I wish someone had told me years ago. The same color looks completely different on a square nail versus an almond shape, and certain shapes automatically read as more formal regardless of what you put on top.
Almond shapes elongate fingers and create elegant shadows along the sides of the nail plate. Coffin or ballerina shapes make a bold statement but require length that not everyone can maintain. Oval shapes work universally and never look dated. Square shapes, while practical, tend to read as casual regardless of polish choice.
Filing technique matters as much as shape selection. Using a glass file like the one from Bona Fide Beauty Glass Nail File prevents the micro-tears that traditional emery boards create. Those tiny tears lead to peeling and breakage, which destroys any glamorous effect you were going for. File in one direction only, never sawing back and forth, and file when nails are completely dry.

Adding Dimension Without Overwhelming Your Natural Nail Bed
Glitter, chrome, and embellishments can elevate or destroy a manicure depending on execution. The difference comes down to restraint and strategic placement. I follow what I call the “one statement” rule: choose one dimensional element per manicure and let the other nails support rather than compete.
An accent nail with holographic glitter while the remaining nails wear a coordinating solid works because your eye has somewhere to rest. Ten nails covered in chunky glitter creates visual chaos that photographs poorly and catches on everything. The Born Pretty Holographic Powder creates a chrome effect that looks expensive without the bulk of actual glitter pieces.
For occasions requiring extra sparkle, rhinestones applied properly outlast any glitter polish. The trick is using actual nail glue rather than relying on top coat to hold them. Beetles Rhinestones kit with the Gems Picker Tool includes everything needed for secure application. Place stones near the cuticle area where they are protected from daily impact rather than at tips where they will be knocked off within hours.

Gel Versus Regular Polish for Long-Lasting Glamorous Manicures
The gel versus regular debate has a clear winner for multi-day events like destination weddings or week-long vacations where you need glam nails that perform: at-home gel systems now rival salon results. However, for single-evening events, properly applied regular polish works identically and removes without the UV exposure concern.
I tested the Beetles Gel Starter Kit against professional salon gel manicures for six months. The Beetles system matched salon longevity when I followed proper curing times and avoided thick applications. The key difference was my own technique improvement over time, not the products themselves.
For regular polish that performs closest to gel, the CND Vinylux system uses a special top coat that actually gets harder with natural light exposure. It lasts five to seven days without chipping when applied correctly, which approaches gel territory without any lamp or complicated removal.
Something worth knowing that beauty brands never advertise: gel polish longevity depends more on your body chemistry than application technique. Some people’s natural oils break down gel within days regardless of how perfectly they apply it. If you have tried gel multiple times with consistent early peeling, your nail chemistry may simply not be compatible, and there is nothing wrong with that.

Maintaining Your Glam Nails Between Application and Event
The hours between finishing your manicure and actually needing your hands to look perfect represent the highest risk window for damage. Professional nail techs recommend completing glamorous manicures the night before rather than hours before an event, which seems counterintuitive until you understand polish curing.
Even fast-dry formulas continue hardening for up to 24 hours. Nails touched up at 2 PM for a 7 PM event remain slightly vulnerable to dents, sheet marks, and texture impressions. Applying the night before and sleeping with hands slightly elevated allows complete curing before the stress of getting dressed, styling hair, and handling accessories.
Sally Hansen Miracle Gel Top Coat applied over already-cured polish adds a protective layer that resists the incidental contact that happens during event preparation. This is different from initial top coat application; it is essentially adding armor over your finished manicure.
Cuticle oil applied an hour before your event reactivates any shimmer or chrome elements while creating that professionally maintained appearance. Cliganic Organic Jojoba Oil works beautifully and absorbs quickly without leaving greasy residue on formal fabrics.

Frequently Asked Questions
How long do glam nails typically last compared to regular manicures?
Properly applied glam nails using quality base coat, two thin polish layers, and fast-dry top coat last four to seven days without significant chipping. Gel versions last two to three weeks with proper curing.
Can I achieve glam nails on short natural nails?
Absolutely. Short nails with perfect shape, cuticle care, and glossy finish photograph beautifully. Deep jewel tones and subtle shimmer create sophistication without requiring length.
What is the fastest way to create glamorous nails for a last-minute event?
Apply a single coat of dark shimmer polish like Essie Toggle To The Top followed immediately by thick fast-dry top coat. The shimmer disguises imperfections while the single coat dries quickly.
Creating Your Signature Glam Nail Look
The most striking glam nails I encounter share one quality: they look intentional. Not overdone, not underdone, but like someone thoughtfully chose every element. That takes experimentation with colors, shapes, and finishes until you discover what makes your hands look their best. What upcoming event has you considering a more glamorous manicure than usual?
Hi, I’m Amber, the creator behind Dazzle Me Nails. I started this site because I’ve always believed nails aren’t just about beauty, they’re about confidence, self expression, and feeling put together in the simplest way. Like many of you, I’ve struggled with weak nails, chipped polish, and designs that looked good online but didn’t work in real life. That’s why I created Dazzle Me Nails to share nail ideas that are practical, wearable, and easy to recreate.
Here, you’ll find minimalist nail designs, trend inspired looks, and simple nail care tips to help you achieve clean, polished nails without over complicating your routine. If you love soft, classy, and effortless nail styles, you’re in the right place.