")
When learning how to do dip nails at home, I ruined four sets before realizing what most tutorials leave out: the temperature of your room matters more than the brand of powder you’re using. After three years of weekly dip manicures at home and plenty of lifting, bubbling, and uneven disasters, I’ve learned exactly where things go wrong and how to prevent every frustrating mistake.
Dip powder nails sit somewhere between regular polish and acrylics in terms of durability, giving you two to three weeks of chip-free wear without UV lamps or the commitment of salon appointments. But the margin for error is slim, and most online guides skip the tiny details that make the difference between amateur hour and genuinely impressive results.

What You Actually Need (And What’s a Waste of Money)
Here’s my honest take that most nail brands won’t tell you: expensive dip powder systems perform almost identically to mid-range ones. The real quality difference comes from your liquids: the base coat, activator, and top coat, just not the powder itself.
Your essential list includes a quality base coat (this is where spending more matters), activator liquid, top coat, your chosen powder colors, a fine-grit nail file (180 grit for shaping, 240 for smoothing), a gentle cuticle pusher, a soft dust brush, and lint-free wipes soaked in isopropyl alcohol.
When learning how to do dip nails at home, skip the “dip powder trays” sold separately as a small shallow dish or even a folded piece of cardstock works perfectly for pouring powder. The key is using something you can easily tap excess powder back into your jar without contamination.
The one upgrade genuinely worth the investment: a proper activator. Cheap activators cause that horrible thick, lumpy texture that makes buffing a nightmare. I use the Modelones dip powder kit because the activator dries thin and clear without yellowing, and the base coat has the right viscosity to grab powder evenly without pooling at the cuticles.
One thing nail techs know that home tutorials skip: dehydrator is not optional. That small bottle of nail prep solution removes oils your eyes cannot see, and those invisible oils are exactly why your dip nails lift after three days instead of lasting three weeks.
Prep Work That Actually Prevents Lifting
The difference between dip nails that last three days and dip nails that last three weeks happens before you ever touch powder. I spend twice as long on prep as I do on the actual dipping process, and that ratio is not an exaggeration.
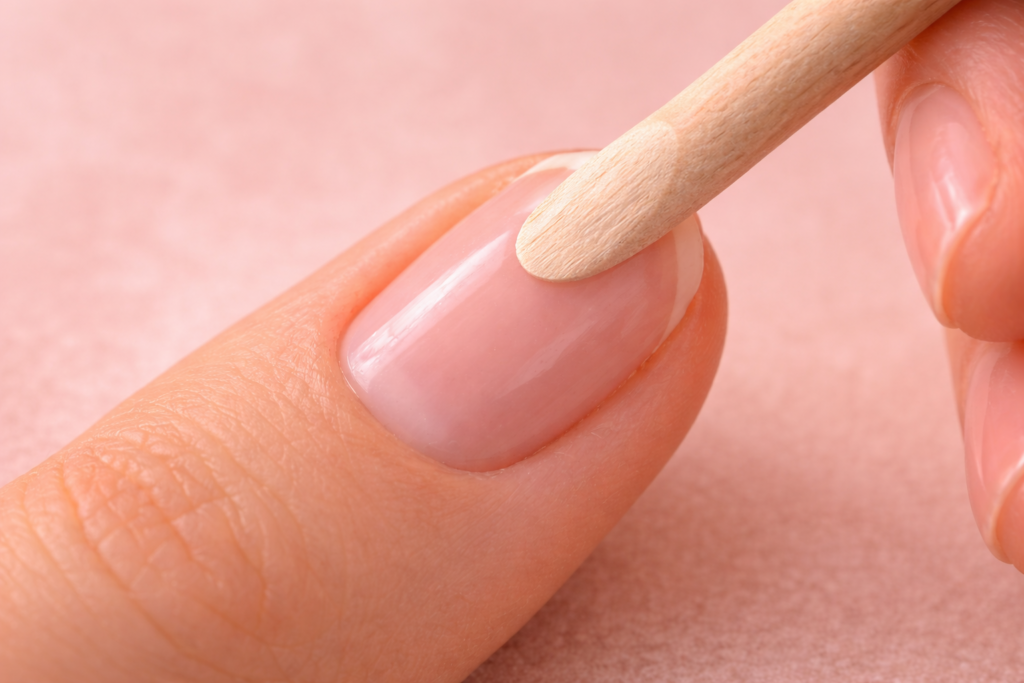
Start by pushing back cuticles gently. Don’t ever cut them. Cutting cuticles creates micro-tears that invite lifting and infection. Use a quality cuticle pusher at a 45-degree angle to the nail, working in small circular motions. You should see a thin white line of dead skin lifting away from the nail plate.
Here’s what most tutorials fail to mention: you need to remove the invisible cuticle layer that extends onto your nail plate. Even after pushing back visible cuticles, there’s a thin film of skin clinging to your nail that acts like a barrier between the base coat and your nail. Gently buff the nail surface with a 240-grit file using light pressure, moving toward the cuticle which removes that film without damaging your nail.
Wipe each nail with alcohol after buffing. Then apply dehydrator. Then apply a thin layer of primer or bonder if your system includes one. Wait until each product is fully dry before the next step—rushing creates bubbles.
The room temperature factor I mentioned: dip liquids perform best between 65-75°F. If your room is colder, liquids thicken and become streaky. If it’s warmer, they thin out and run into your cuticles. Air conditioning or heating vents blowing directly on your workspace can cause uneven drying that leads to bubbling.
The Dipping Process Step by Step
Apply base coat to one nail at a time not applying never more than two before dipping. The base coat begins setting within 15 seconds, and if it gets tacky before you dip, powder will clump instead of adhering smoothly.
Brush base coat in thin, even strokes. Start just above the cuticle, leaving a tiny gap the width of a credit card edge. Push the product toward the free edge, then go back and even out the sides. The coat should be thin enough that you can see the texture of your nail through it; any thicker and you’re inviting bubbles.
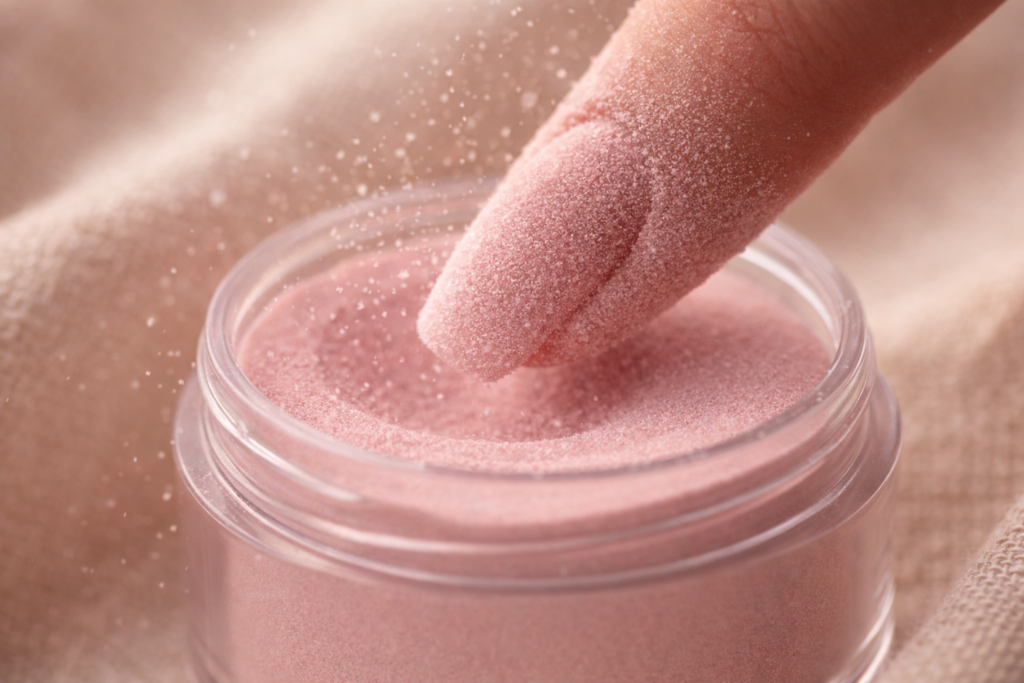
Immediately dip your finger into the powder at a 45-degree angle. Let it sit for five seconds, then tap gently to release. Brush away excess powder with your dust brush before moving to the next finger.
This is crucial: complete all five nails on one hand before applying activator. Applying activator after each nail creates ridges at the overlap points.
After your first layer, brush off all excess powder thoroughly. Apply activator in thin strokes, starting at the cuticle and moving toward the tip. Wait 60 full seconds, not the 30 seconds some instructions suggest. This drying time prevents the second layer from bubbling.
Repeat the base-dip-brush-activate sequence for a total of two to three layers depending on your coverage preference and the powder opacity. Most colors need two layers; sheer pinks and nudes often need three.
I tried a dip powder kit like this at home, and it honestly surprised me. The finish looks really smooth and lasts way longer than regular polish.
Shaping and Buffing Without Ruining Everything
After your final activator layer has dried for a full two minutes, you can shape and buff. This is where most home dip manicures start looking obviously amateur; too aggressive with the file, too impatient with the process.
Use a 180-grit file for shaping your free edge, always filing in one direction rather than sawing back and forth. Sawing creates micro-fractures that lead to chipping within days.
For the surface, here’s the technique I wish someone had taught me earlier when learning how to do dip nails at home: use a 240-grit buffer at a very low angle, almost parallel to the nail surface. High pressure or a steep angle removes too much product and creates visible dig marks. You should see file marks blending into a smooth surface, not creating new grooves.
Focus extra attention on the cuticle area and sidewalls where product tends to build up thickest. This is where bumps and ridges hide. Run your finger across the surface with your eyes closed and you’ll feel imperfections you cannot see.
Before top coat, wipe with alcohol one more time. This removes fine dust that causes cloudiness under the top coat.
Apply two thin layers of top coat, allowing 60 seconds between coats. The common mistake: top coat too thick. Thick top coat pools, wrinkles, and takes forever to cure properly. Two thin coats create a harder, glossier, more professional finish than one thick coat ever will.

If your nails feel uneven or dull, this is such an easy fix. A quick buff and they instantly look healthier.
Troubleshooting Common Disasters
Bubbling: Almost always caused by thick base coat application, not waiting long enough between layers, or high room humidity. If bubbles appear, you cannot fix them. Remove them and start over. Prevention is the only solution.
Lifting at cuticles: Insufficient prep work or base coat touching the cuticle skin. Leave that tiny gap, and be aggressive about removing the invisible cuticle film during prep.
Lumpy texture: Your activator is too thick (old product or cold room) or you’re applying activator too heavily. Thin coats, warm room.
Yellowing: Low-quality top coat or activator. This is where investing in better liquids pays off. Cheap formulas yellow within days.
Cracking at free edge: Either your nails were too long for the powder’s flexibility, or you filed your free edge too thin during shaping. Dip powder is not as flexible as gel; if you want long nails, build them thicker at the stress point where nail meets free edge.

When learning how to do dip nails at home, here’s something most professionals won’t say publicly: if a color keeps giving you trouble, it might be the powder, not you. Some pigments, especially dark reds and true blacks, have denser particles that require a different base coat viscosity than pastels and neutrals. You’re not failing; you’re just dealing with incompatible products.
Making Your Dip Nails Last the Full Three Weeks
Longevity comes down to two factors: proper application and smart maintenance.
When learning how to do dip nails at home, remember that the number one longevity killer is product touching the cuticle skin anywhere. Check every nail from every angle before activating. If you see product on skin, use a clean brush dipped in acetone to remove it before it sets.
For maintenance, wear gloves when cleaning as household chemicals eat through top coat within seconds of contact. Apply cuticle oil twice daily, especially around the edges where lifting starts. When you feel a rough spot or small chip starting, do not pick at it. File it smooth and apply a thin layer of clear top coat immediately. This buys you several more days.
The habit that extended my wear time from 12 days to 21: applying a thin clear top coat refresh every five to six days. This takes three minutes and essentially resets your manicure’s durability clock.
Store your dip liquids away from direct sunlight in a stable temperature environment. Separating base coat and activator prevents accidental contamination between uses.

I’ve been using This cuticle oil lately, and it actually made my nails feel less dry. They just look healthier and grow out without breaking as much.
Safe Removal Without Nail Damage
Soak-off removal takes patience. File down the top coat and powder layers using a 180-grit file until you see the base coat which you’ll know because the texture changes from glossy and smooth to slightly matte. Do not file into your natural nail.
When learning how to do dip nails at home, start removal by saturating small cotton pieces with pure acetone (not nail polish remover but pure acetone), placing them on each nail, and wrapping with foil. Wait 15–20 minutes without peeking as the foil retains heat, helping the acetone penetrate faster.
After soaking, use a cuticle pusher to gently scrape away softened product. It should come off easily in flakes. If you’re scraping hard, soak longer. Forcing product off rips layers from your nail plate.
After full removal, buff gently with a 400-grit buffer to smooth any remaining residue, then immediately apply cuticle oil. Give your nails at least 24 hours to rehydrate before your next dip application.

I’ve used pure acetone like this to remove dip nails, and it honestly makes the process way easier. Once you soak properly, the layers start breaking down without too much effort.
Frequently Asked Questions
How long between dip layers?
Wait 60 seconds after activator. Rushing causes lifting and bubbles.
Can I use dip over gel/acrylic?
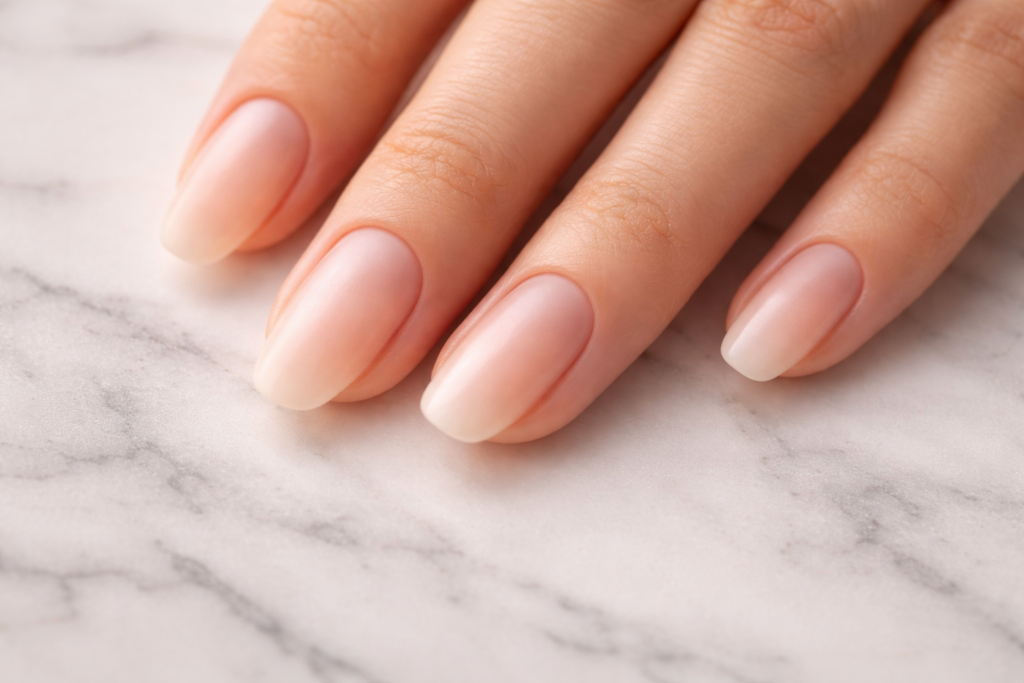
Not recommended. Works best on clean natural nails.
Why do dip nails look bulky?
Too much product or wrong angle. Apply thin layers and remove excess powder.
How to prevent dry cuticles?
Use cuticle oil daily (morning + night).
Is dip powder safe?
Yes, damage comes from bad removal, not the product.
Can I add nail art on dip?
Yes. Use gel polish, stickers, or designs, then seal with top coat.
Why does dip top coat crack?
Too thick, dusty surface, or uncured activator. Apply thin on a clean base.
I’d genuinely love to hear about your dip powder journey. What technique finally clicked for you, or where you’re still hitting a wall? Drop your experience in the comments, and I’ll answer every question personally.

Hi, I’m Amber, the creator behind Dazzle Me Nails. I started this site because I’ve always believed nails aren’t just about beauty, they’re about confidence, self expression, and feeling put together in the simplest way. Like many of you, I’ve struggled with weak nails, chipped polish, and designs that looked good online but didn’t work in real life. That’s why I created Dazzle Me Nails to share nail ideas that are practical, wearable, and easy to recreate.
Here, you’ll find minimalist nail designs, trend inspired looks, and simple nail care tips to help you achieve clean, polished nails without over complicating your routine. If you love soft, classy, and effortless nail styles, you’re in the right place.